Quick intro Link to heading
n8n automation is one of the most sophisticated and simple tools at the same time. This combination makes it extremely promising and applicable to many different scenarios. What makes it outstanding is the number of nodes it has in its arsenal, starting from simple code execution (JS and Python in beta) and HTTP requests, to integrations with popular AI APIs like OpenAI and Claude, or even LangChain, vector databases like Atlas/Supabase, document loaders, chat messengers like Telegram/WhatsApp/Discord, schedulers, and much more. The toolset makes it super easy to chain a wide range of subtasks quickly into highly useful workflows, which can automate everyday routines and free your hands, saving time and energy. A workflow looks like a simple flowchart where you connect different execution nodes, which are the smallest pieces of work, or it can be another workflow with a complex series of nodes.
n8n has an amazing way of sharing workflows: they have a marketplace where you can sell your workflows or share them for free. You click the copy button and paste the JSON into your workflow inside n8n and that’s it—no import/export, etc.
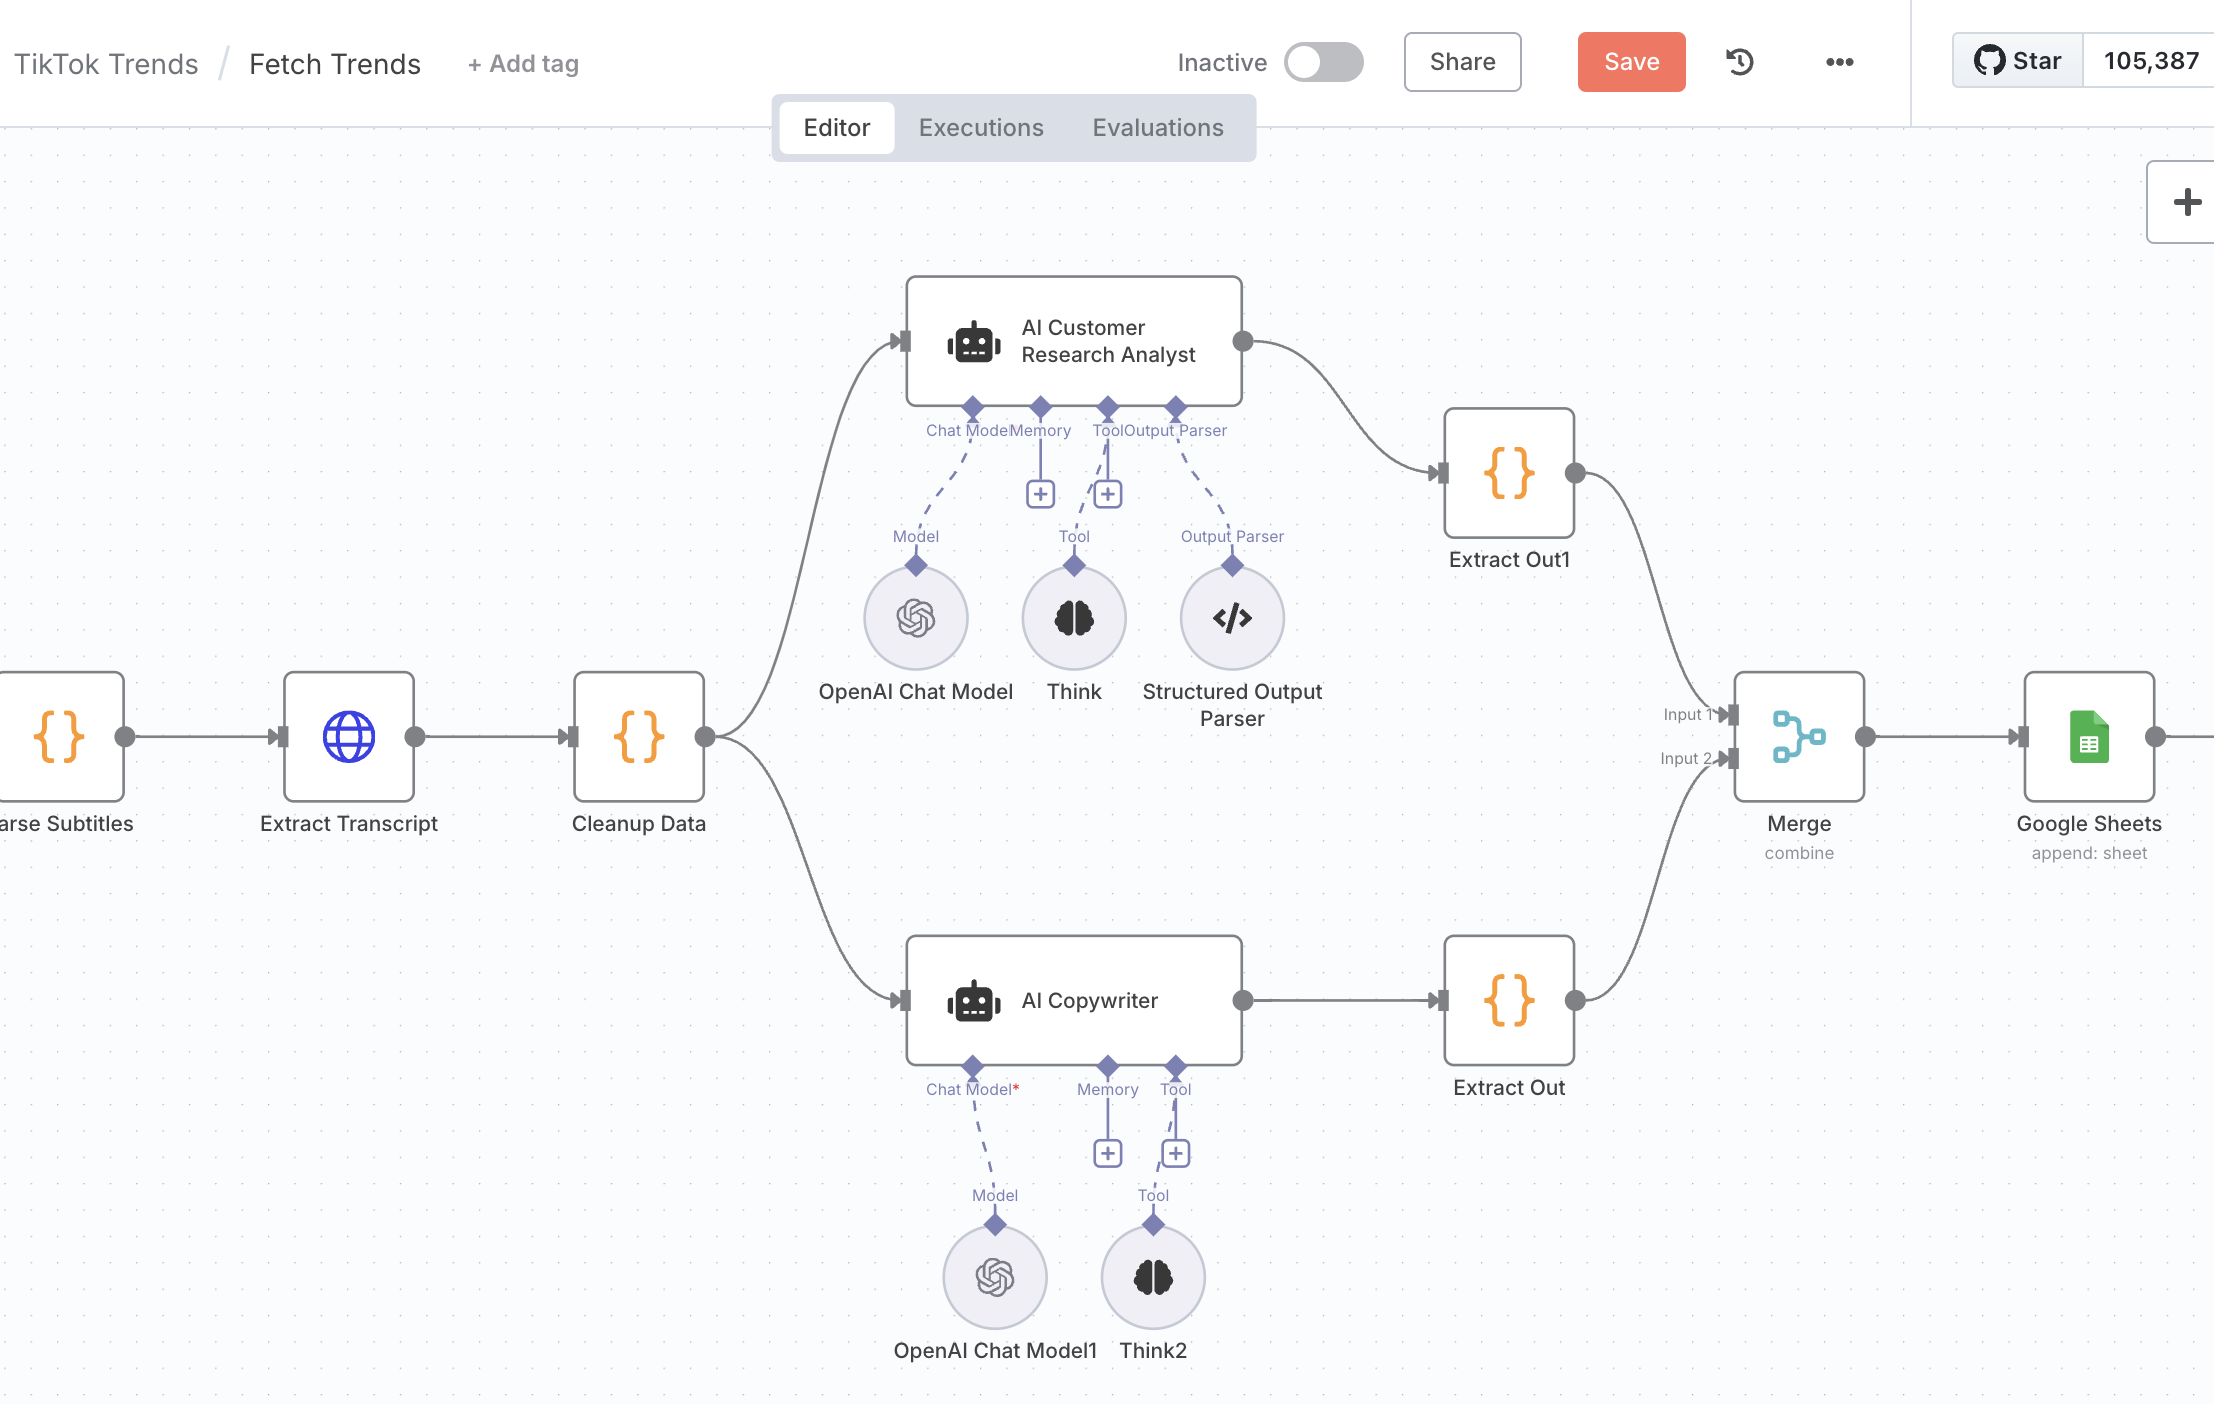
I suppose n8n gained its momentum from the first viral TikTok posts about its applicability to integrate AI agents with scrapers and chat messengers into one workflow to coordinate marketing posts or trend analysis.
I’ve seen it before and even tried to compare it with the Make tool, but couldn’t come up with a quick flow it would be useful for. For me, the real push to try was an example I encountered on Twitter. In the last few months, I worked on improving marketing for my mobile app, and n8n caught my attention with a post and a workflow example from Blotato API for automating social media marketing trends cloning.

Self-hosted setup Link to heading
n8n has multiple ways to set up. In this article, I will guide you through step-by-step instructions for self-hosting n8n with Docker.
Ok, so you deployed n8n locally, tried some workflows by manually executing them, but as your workflow becomes more complex, you may start noticing that you have to deploy it on a server at some point to benefit from external execution triggers like chat messages, cron schedulers, error handling, etc., and speed up workflows via concurrent execution. Also, by default, n8n uses SQLite to store your workflows and API credentials, which is less suitable for parallel executions and scalability than, for example, Postgres. So, in addition, we will add Postgres to the deployment to make our self-hosted n8n production ready.
Triggers are actions that initiate a workflow’s execution. You start with the manual one. As you progress, you will encounter chat messages, cron schedules, execution by other workflows, Stripe, Jira, GitLab, AWS SNS and many more.
And if you want to scale your workflow and speed up execution, you definitely need to enable queue mode. Here’s a brief review of how it works from n8n documentation:
When running in queue mode, you have multiple n8n instances set up, with one main instance receiving workflow information (such as triggers) and the worker instances performing the executions. Each worker is its own Node.js instance, running in main mode, but able to handle multiple simultaneous workflow executions due to their high IOPS (input-output operations per second). By using worker instances and running in queue mode, you can scale n8n up (by adding workers) and down (by removing workers) as needed to handle the workload.
This is the process flow:
The main n8n instance handles timers and webhook calls, generating (but not running) a workflow execution. It passes the execution ID to a message broker, Redis, which maintains the queue of pending executions and allows the next available worker to pick them up.
- A worker in the pool picks up a message from Redis.
- The worker uses the execution ID to get workflow information from the database.
- After completing the workflow execution, the worker:
- Writes the results to the database.
- Posts to Redis, saying that the execution has finished.
- Redis notifies the main instance.
We will use Caddy for reverse proxy and certificate management. I personally use Cloudflare for domain management. And of course, beloved Docker to deploy all containerized components we need: n8n, Caddy, and Postgres DB.
So you picked up some cheap machine to start over on, e.g., Hetzner, installed Docker on it, and now you are ready to compose all components there.
Let’s get straight to the point—here’s the docker compose file with the setup:
The full setup with scripts and Caddyfile can be downloaded here
Let me quickly explain what each environment variable for in n8n:
- N8N_PUBLIC_API_DISABLED=true
Disables the public API for security. - N8N_PUBLIC_API_SWAGGERUI_DISABLED=true
Disables the Swagger UI for the public API. - DB_TYPE=postgresdb
Sets the database type to PostgreSQL. - DB_POSTGRESDB_HOST=postgres
Hostname of the PostgreSQL container. - DB_POSTGRESDB_PORT=5432
PostgreSQL port. - DB_POSTGRESDB_DATABASE=${POSTGRES_DB}
Database name (from your.env). - DB_POSTGRESDB_USER=${POSTGRES_NON_ROOT_USER}
Database user (from your.env). - DB_POSTGRESDB_PASSWORD=${POSTGRES_NON_ROOT_PASSWORD}
Database password (from your.env). - EXECUTIONS_MODE=queue
Enables queue mode for scaling with workers. - QUEUE_BULL_REDIS_HOST=redis
Hostname of the Redis container for queueing. - QUEUE_HEALTH_CHECK_ACTIVE=true
Enables health checks for the queue. - N8N_ENCRYPTION_KEY=${ENCRYPTION_KEY}
Key for encrypting credentials (from your.env). - N8N_HOST=${SUBDOMAIN}.${DOMAIN_NAME}
The domain/subdomain where n8n will be accessible. - N8N_PROTOCOL=https
Use HTTPS for the service. - WEBHOOK_URL=https://${SUBDOMAIN}.${DOMAIN_NAME}/
Public URL for webhooks. - GENERIC_TIMEZONE=Europe/Warsaw
Sets the timezone for n8n.
Don’t forget to fill your .env file and change your domain name in the Caddyfile.
docker-compose up -d
And voilà, you have self-hosted your n8n 😎 🥳 !!
Thanks for reading and happy coding.
Stay tuned as I will publish more articles in the series. And don’t forget to check out my Tools section.